The following snippet demonstrates how to use the Firestore emulator in Flutter. Setting up the emulator allows you to create mock data on your local system during development. In some cases, this can eliminate the need for switching between dev/prod firebase projects when building your app.
🔥 Watch the advanced emulator tutorial for additional tips and tricks on this subject.
Setup the Emulator Suite
Initialize the emulator suite. Select the options for emulators & firestore when prompted, then stick with the defaults for everything else.
firebase init
# Choose emulators, then firestore when prompted

firebase emulators:start
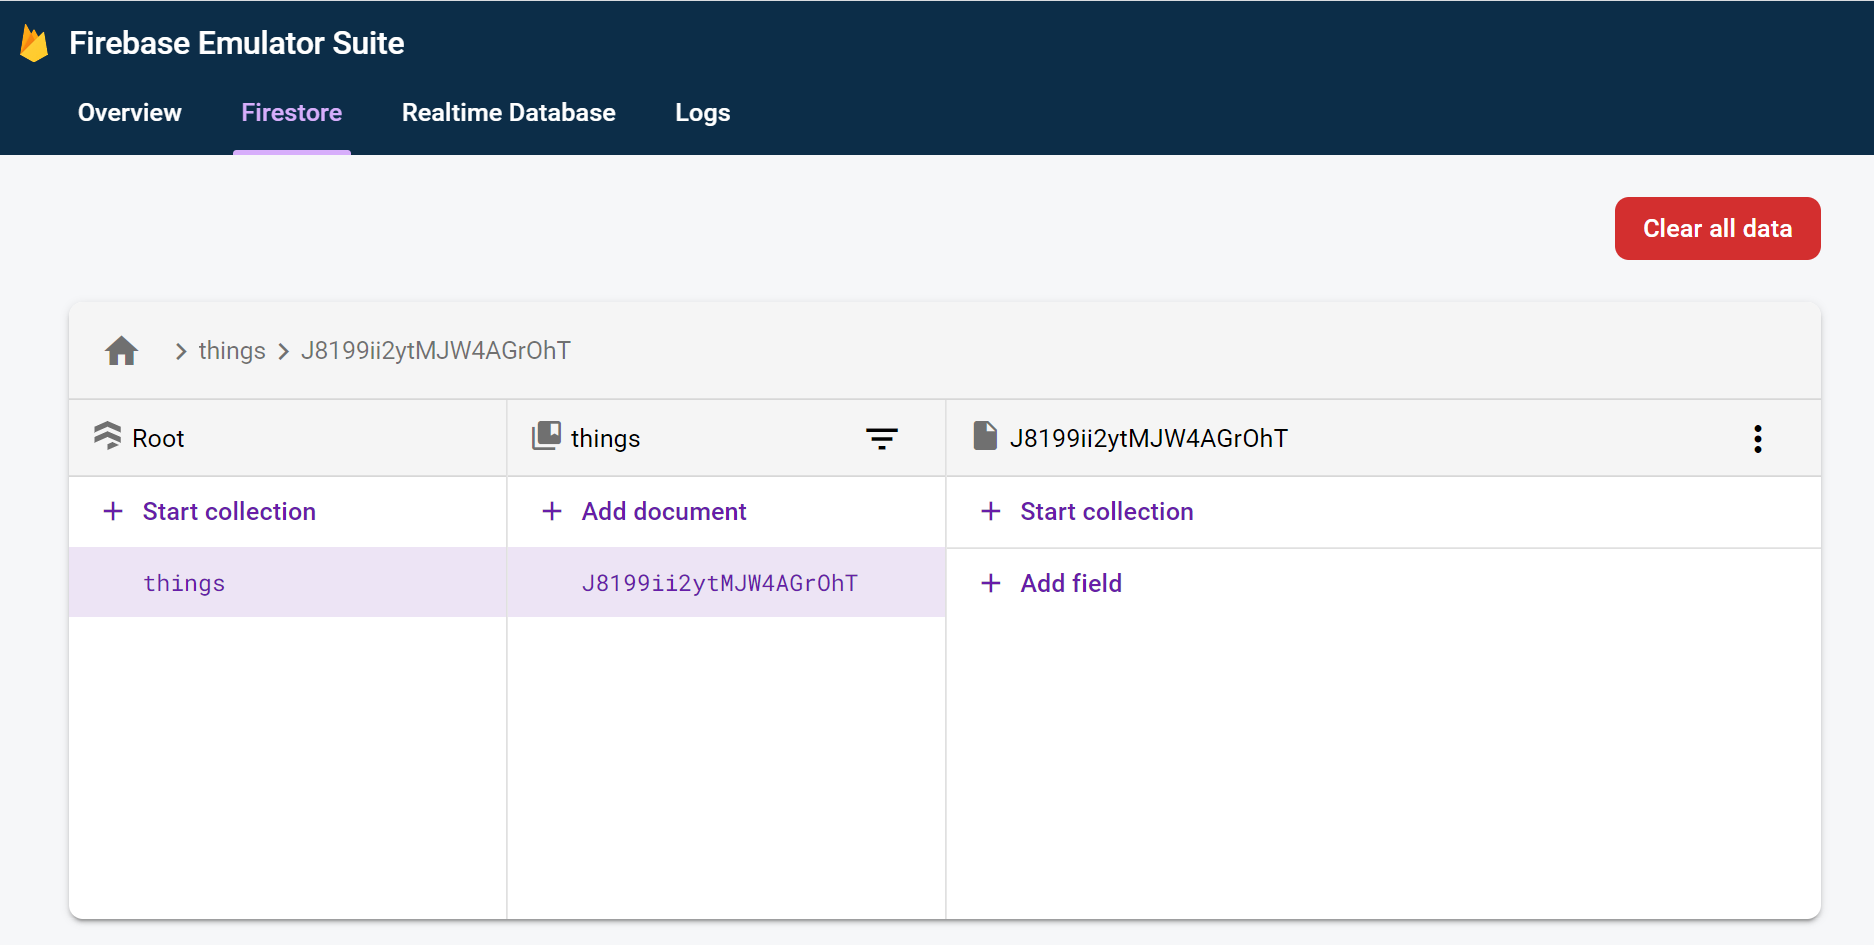
Starting the emulator should give you access to the UI on localhost:4000.

Example of Firestore emulator running locally
Connect Flutter to the Firestore Emulator
The Firestore emulator instance is running on localhost:8080. We can tell Flutter to use the emulator by modifying the settings after our widgets have been initialized. On an Android emulator, you must point to the IP 10.0.2.2 to connect to the ‘localhost’.
import 'package:cloud_firestore/cloud_firestore.dart';
import 'dart:io' show Platform;

class _MyHomePageState extends State<MyHomePage> {

  @override
  void initState() {
    String host = Platform.isAndroid ? '10.0.2.2:8080' : 'localhost:8080';

    Firestore.instance.settings(
      host: host,
      sslEnabled: false,
      persistenceEnabled: false,
    );


    super.initState();
  }

}
That’s it! Your app will now use the local emulated database values instead of your real production data in the cloud. You might improve this code by using environment variables or flavors to only use the emulator when running a development build.
Questions?
Ask questions via GitHub below OR chat on Slack #questions